In this AWS Copilot series, we will develop the coffee shop application hosted in ECS Fargate using Copilot.
The microservices in this Coffee Shop Application demo is:
- Coffee Order UI - Submitting Order
- Coffee Service - API for Coffee types
- Order Service - API for creating order and get the status of the order.
- Barista Service - Processing order and update the status (Event Driven)
When we are deploying to ECS, we will go through what are the types of service and route path rules for each service.
- Coffee Order UI - / - It's the default route to navigate to the client application behind the load balancer.
- Coffee Service - /coffee-service/* - The Coffee Service API is going to be prefixed with coffee-service behind the load balancer.
For, e.g.,
https://awscopilotcoffeeshop.com/coffee-service/api/coffeeswill be rewriting to the dot net core applicationhttp://coffee-service.local:80/api/coffees. - Order Service - /order-service/* - The Order Service API will be prefixed with order-service behind the load balancer.
- Barista Service - Internal Backend Service that is not exposed to the internet. The services/instances in the VPC can access them.
In this post, we will focus only on Coffee Service & Coffee Order UI development and setting up the pipeline to automatically deploy your container application.
Here comes my favorite part... Let's add the services that list the types of coffee; users can choose to order. The .NET core app with the endpoint is ready that returns the list of coffee types. The application is running in a container. Now, it's a single command to add it our application and deploy.
copilot svc init -n coffee-service
Select the location of the docker file to create the service. Once the service is created, take a look at the manifest file created under the copilot directory. In the HTTP section of the below manifest, you can see the path prefix coffee-service add. This will reflect in your application load balancer rules.
You may need to add the coffee-service as PathBase in your .NET Core app to handle the requests properly from serving behind the ALB (Application Load Balancer)
app.UsePathBase(new PathString("/coffee-service"));## File Path: copilot/coffee-service/manifest.yml
# Your service name will be used in naming your resources like log groups, ECS services, etc.
name: coffee-service
# The "architecture" of the service you're running.
type: Load Balanced Web Service
image:
# Docker builds arguments.
# For additional overrides: https://aws.github.io/copilot-cli/docs/manifest/lb-web-service/#image-build
build: CoffeeService/Dockerfile
# Port exposed through your container to route traffic to it.
port: 80
http:
# Requests to this path will be forwarded to your service.
# To match all requests, you can use the "/" path.
path: 'coffee-service.'
# You can specify a custom health check path. The default is "/."
# For additional configuration: https://aws.github.io/copilot-cli/docs/manifest/lb-web-service/#http-healthcheck
healthcheck: '/healthz'
# You can enable sticky sessions.
# stickiness: true
You can deploy the service using the below command.
copilot svc deploy -n coffee-service --environment test
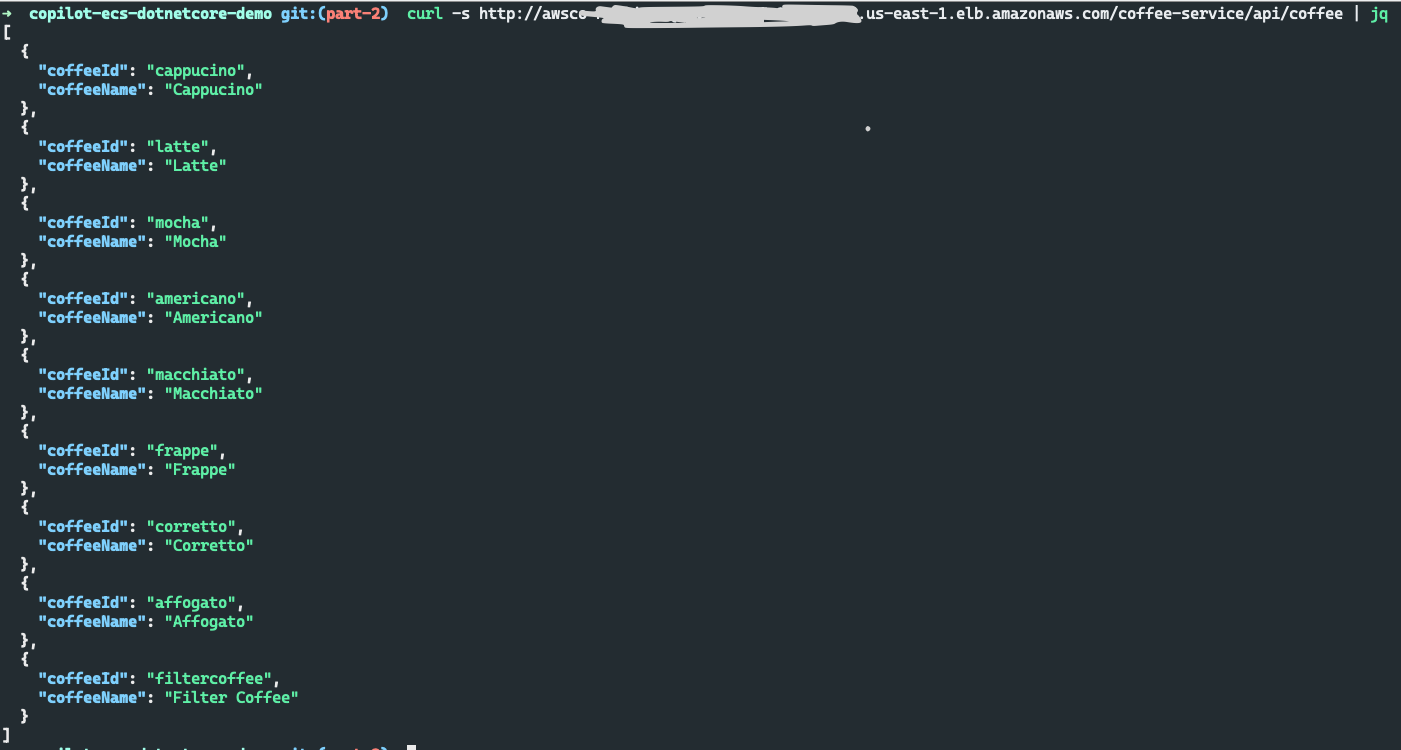
Test the service with the curl command
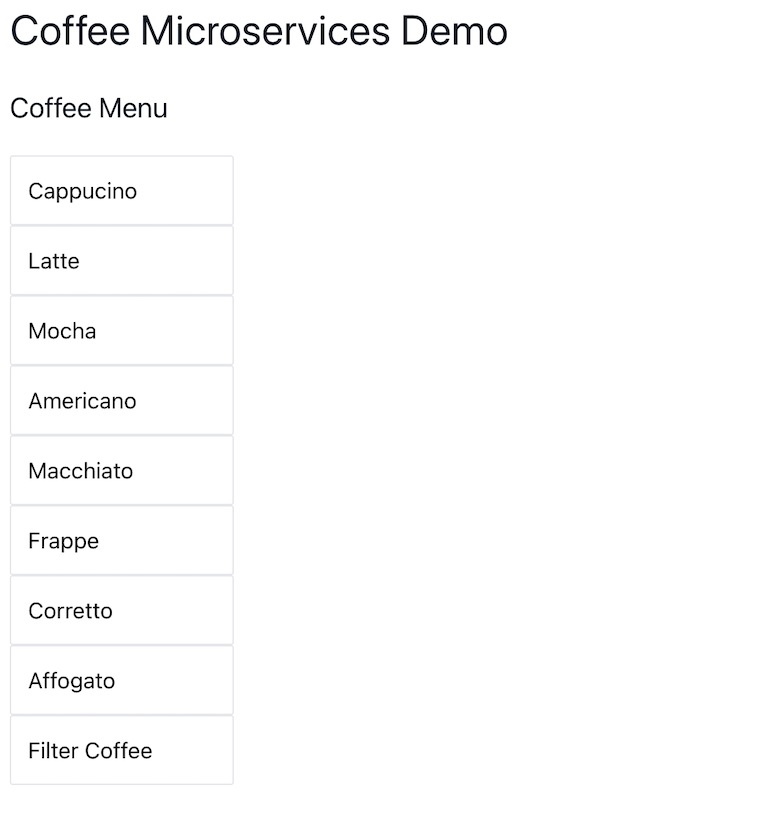
curl -s http://<loadbalancer_url>/coffee-service/api/coffee | jqThe Coffee Ordering UI is created as a React application that fetches the coffee types from the API and listing them for the user to choose from. The React application is built and serves as static files from the Nginx container.
Create a new Load Balancer Web Service to serve this UI app to the internet.
copilot svc init -n coffee-ordering-ui
Select the location of the docker file to create the service. Once the service is created, verify and modify the manifest file as needed, and you can deploy the service using the below command.
copilot svc deploy -n coffee-ordering-ui --environment test
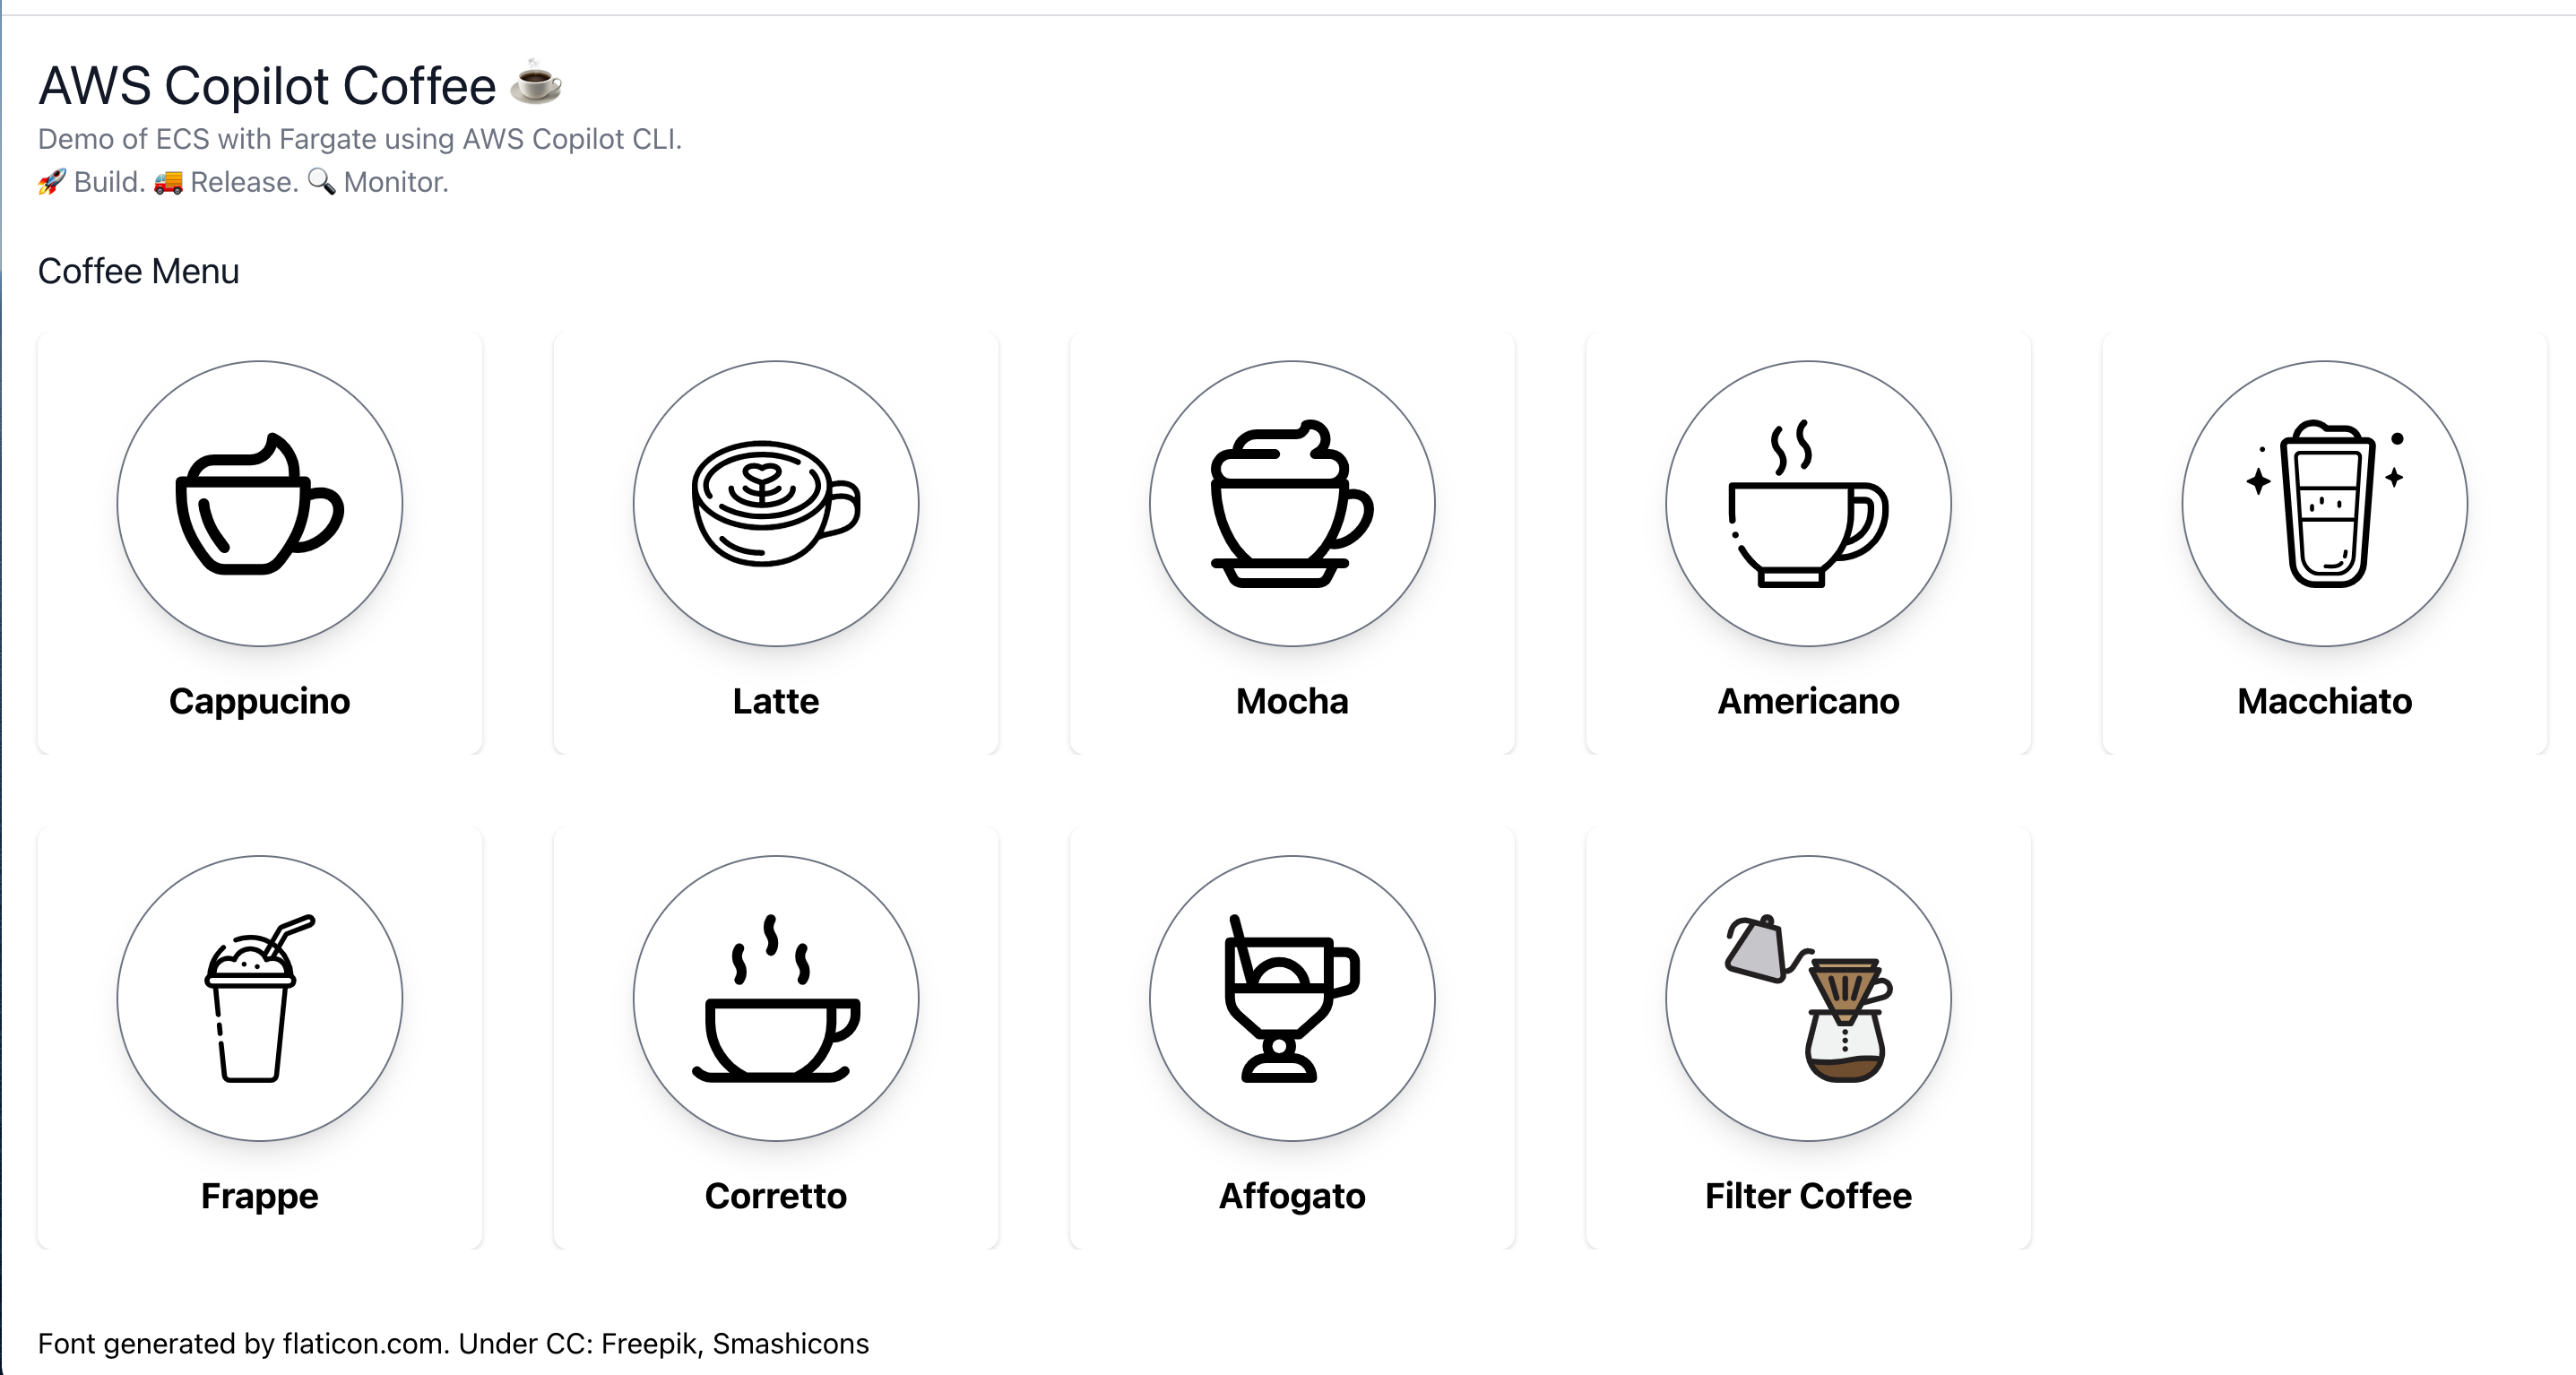
The app looks like this...
The key principle of the devops process is "Ship small, Ship often." The process of deploying small features on a regular cadence is crucial to DevOps. As the team is becoming more agile, we need to automate application releases as multiple developers, multiple services teams pushing the code into the source code repository.
AWS Copilot tool can help you in setting up the pipeline to automate application releases. You can run these commands to create an automated pipeline for the application that builds and deploy the application on git push. You need to set up the github repo personal access token that has permissions includes reading the repo.
copilot pipeline init
copilot pipeline update // To update
git push
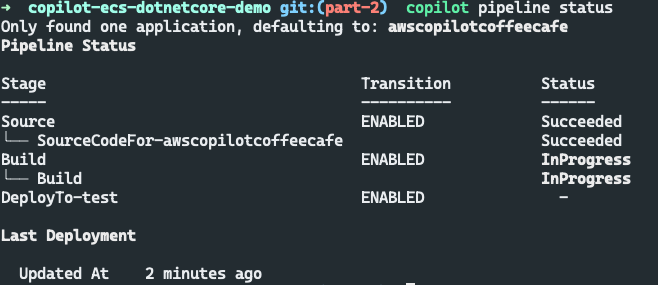
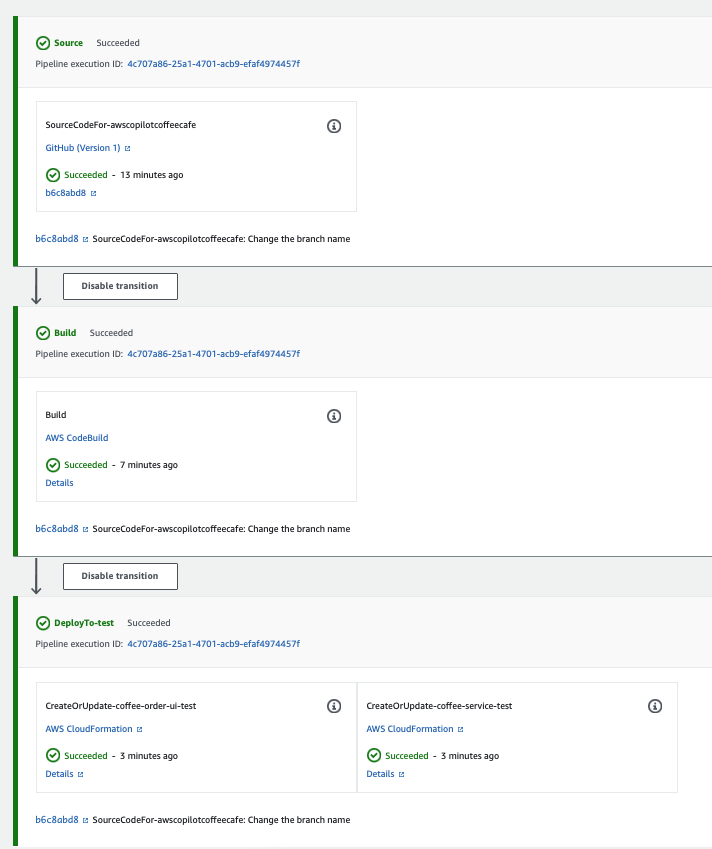
Check the status of the pipeline using copilot cli or in the AWS Code Pipeline console.
copilot pipeline statusNow, it's ready to bring more developers to start rocking. They don't need to install a copilot to deploy the machine's service, as they are developing. The deployment steps are automated.
I see the UI we've created needs more things to add. I'm going to add the image of the coffee in the app and service. Once I pushed the repository changes, the pipeline deploys the updated version of the app and service in the test or integration environment automatically.
The new version of the app deployed:
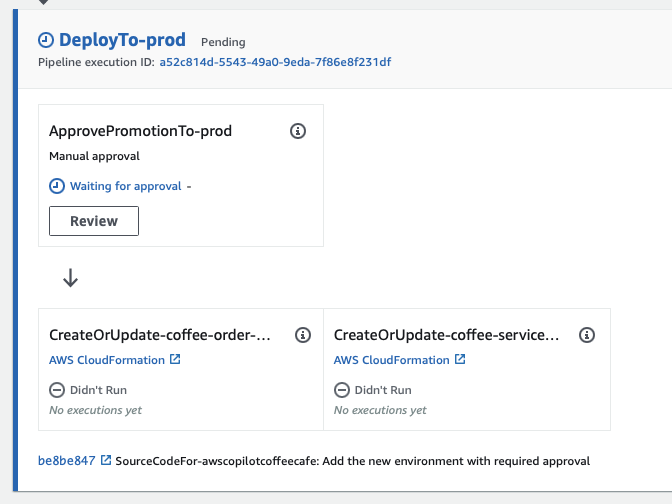
In this application, we have a test environment in the pipeline. Let's add another environment production. We will set up the manual approval as the required action as the approval to the changes going into the gateway.
In the pipeline.yml created at the step of initializing the pipeline, add prod deploy as one stage with requires_approval as true. Update the pipeline using copilot pipeline update after these changes.
stages:
    - name: test
      # Optional: flag for manual approval action before deployment.
      # requires_approval: true
      # Optional: use test commands to validate this stage of your build.
      # test_commands: [echo 'running tests', make test]
    - name: prod
      requires_approval: true
You can run integration tests also at each stage using the test_commands in the stage yml configuration.
The app is shipped to the production environment after approval. 🚚🚀
🚀 AWS Copilot supercharges your application - one cli tool to set up infrastructure, build your application with many services, setting up the pipeline to automate release, monitor the status of stack and application, and with add-ons.


