WebPty makes it possible to run your server terminal from your browser. It was made to "just work":
curl -L -o webpty.bin "https://github.com/mickael-kerjean/webpty/releases/download/stable/webpty_linux_amd64.bin"
chmod +x ./webpty.bin
./webpty.bin
note: the list of build is available in the documentation
One of the core design principle of webpty is that you can't missuse it to harm yourself meaning:
- It won't work on HTTP even if you try really hard
- it will create its own self signed certificates if you don't supply your own
- rely on SSH to authorise users meaning only people who already have an account on the box can connect to webpty
- I have it exposed on the internet to manage a bunch of machines and servers
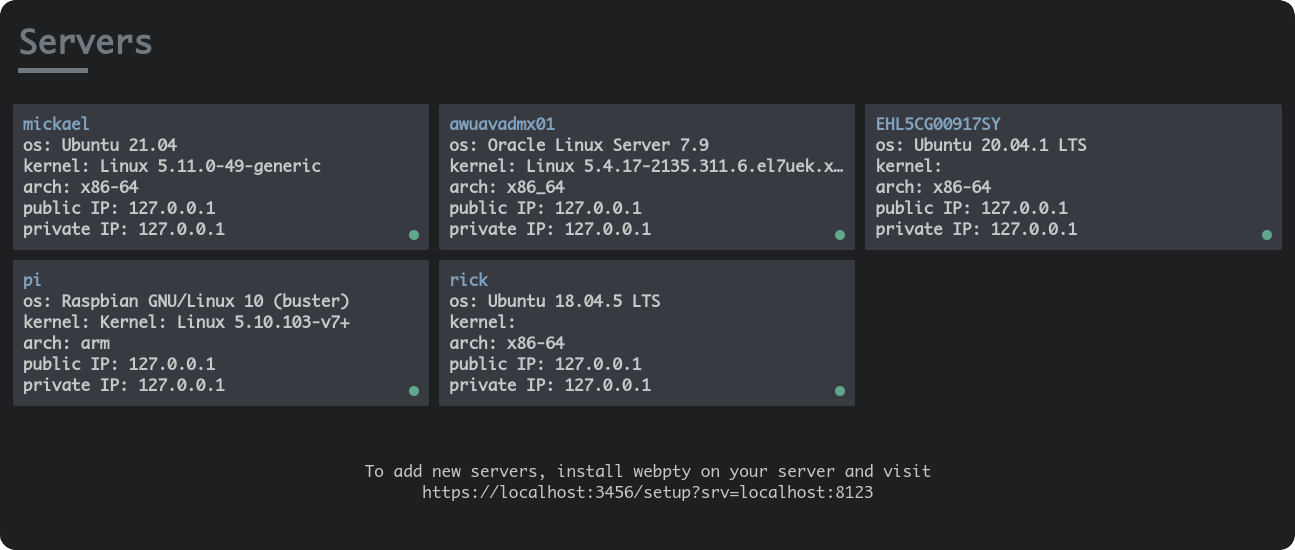
The fleet manager server is the latest addition to webpty, it is the central place where all your webpty instance are available. In practice, it can be your android phone running from a 3G network via termux, your home server, your laptop running from a public wifi, your production VM that don't have SSH at all, containers running as a sidecar or even your machine sitting at work behind a very restrictive corporate network.
To install the webfleet server from scratch:
# STEP1: compile everything
git clone --depth 1 https://github.com/mickael-kerjean/webpty && cd webpty
go build -o webfleet.bin webfleet/main.go

# STEP2: run the server
sudo CERTBOT=example.com AUTH_DRIVER=simple AUTH_USER=username:password ./webfleet.bin

# STEP3: attach a webpty client to the fleet
FLEET=example.com ./webpty.io
notes:
- the
CERTBOTenv variable is to have the fleet server generate its own ssl certificates via letsencrypt. If you have it enabled, it will expose itself on port 80 and 443. If you don't useCERTBOT, the application will expose itself on port 8123 (aka you won't need to use sudo as port is > 1000) and you need to have SSL handled at the reverse proxy level. AUTH_DRIVERis to enable different strategy for authenticating to the fleet server. As of today, only 2 strategies are available:yoloandsimple. As the name implies,yolois to disable any kind of user authentication as it assumes you are handling this kind of things through a reverse proxy andsimpleis for the server to manage authentication in which caseAUTH_USERwill be how it gets the list of username/password.
-
provide more authentication drivers so it can be used not only for homelab and selfhost people but also in a company settings (LDAP, SAML, OIDC, ...)
-
have a proper bash parser (most likely treesitter) that understand bash commands and chroot to restrict access based on a user role. The ultimate goal for this is to enable devops to provide access to server to every developer who need it as you will only be able to do things that are necessary to do your job and to be able to showcase people how I'm running my kubernetes infrastructure by giving them direct access to a terminal knowing they can't do anything that will cause the cluster to break and stop serving the ~50k user I get with another side project.
-
provide support for graphical things via RDP, VNC
Need customisation and/or need something for your company? contact me either via email or via the Filestash support

